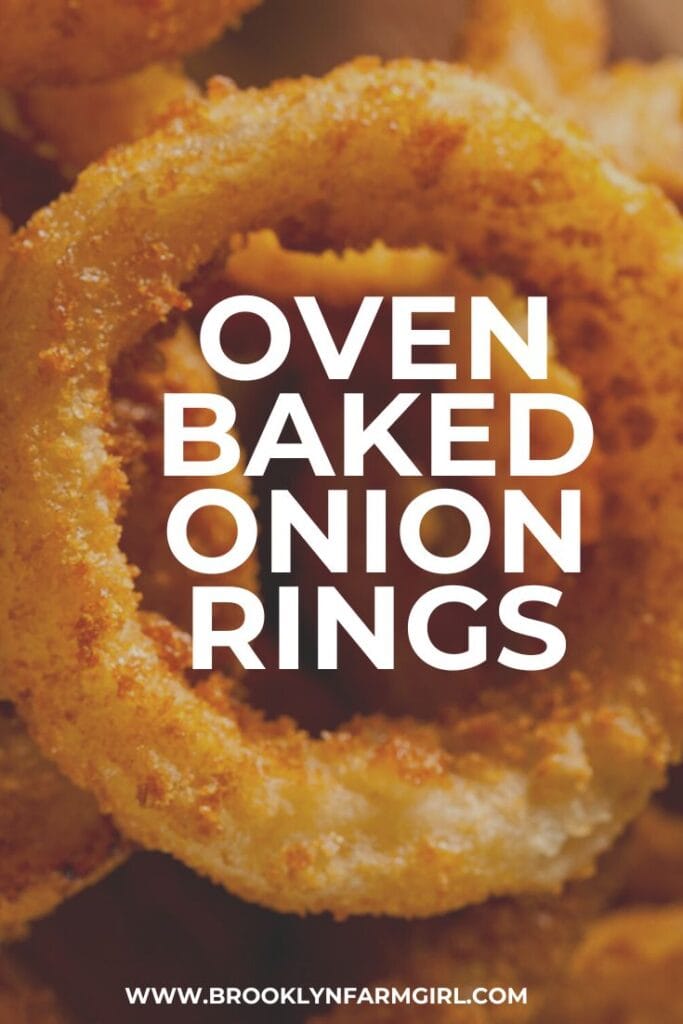
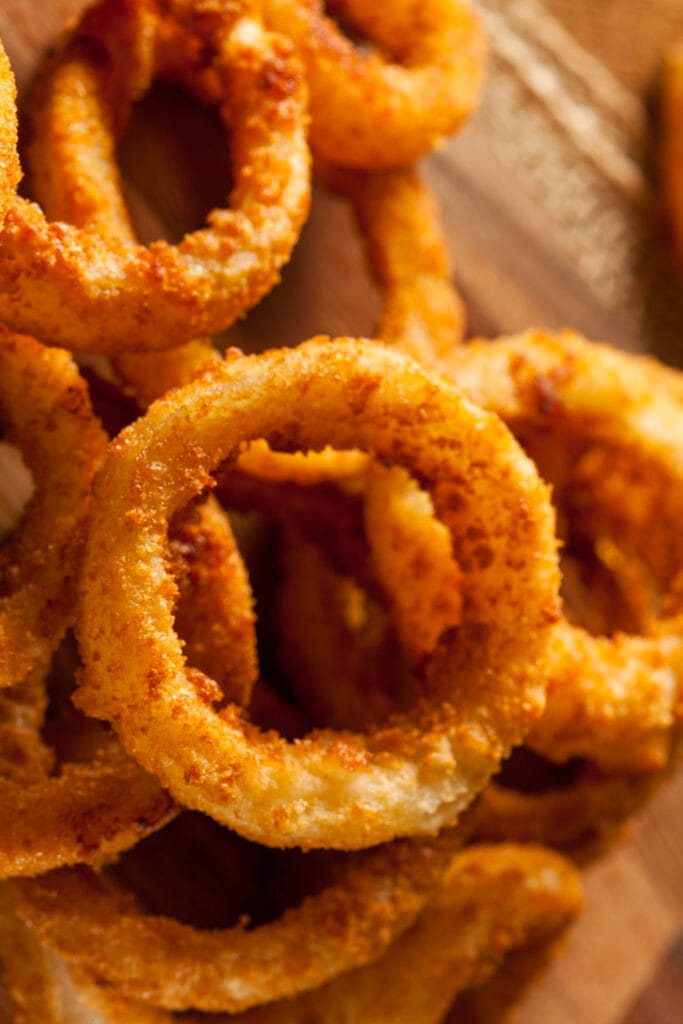
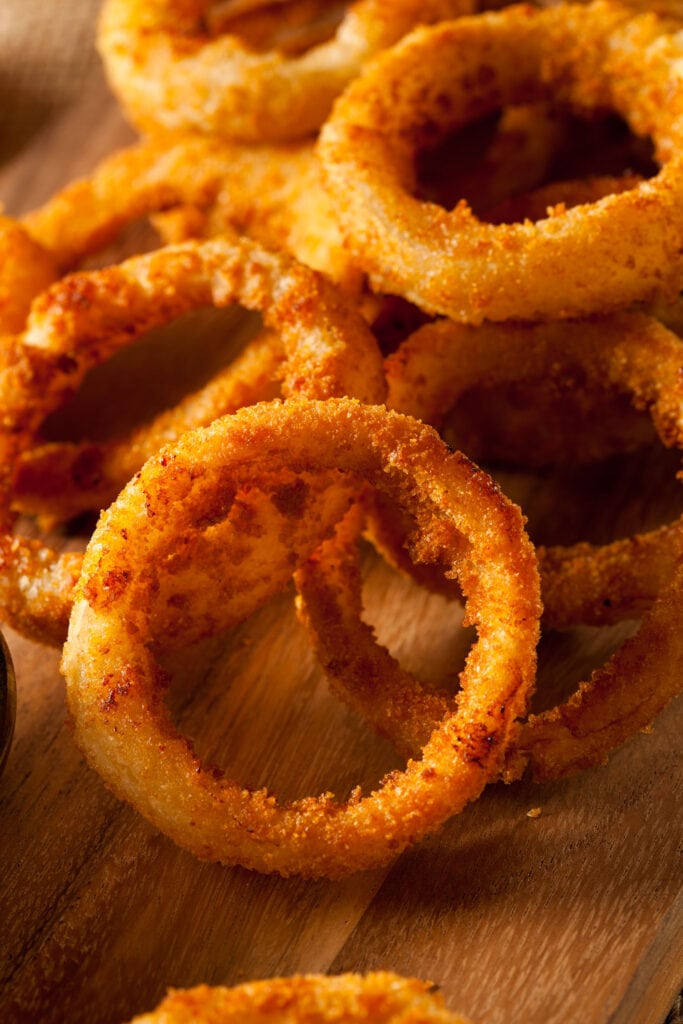
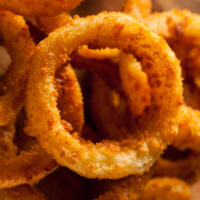
Oven-baked Onion Rings Recipe
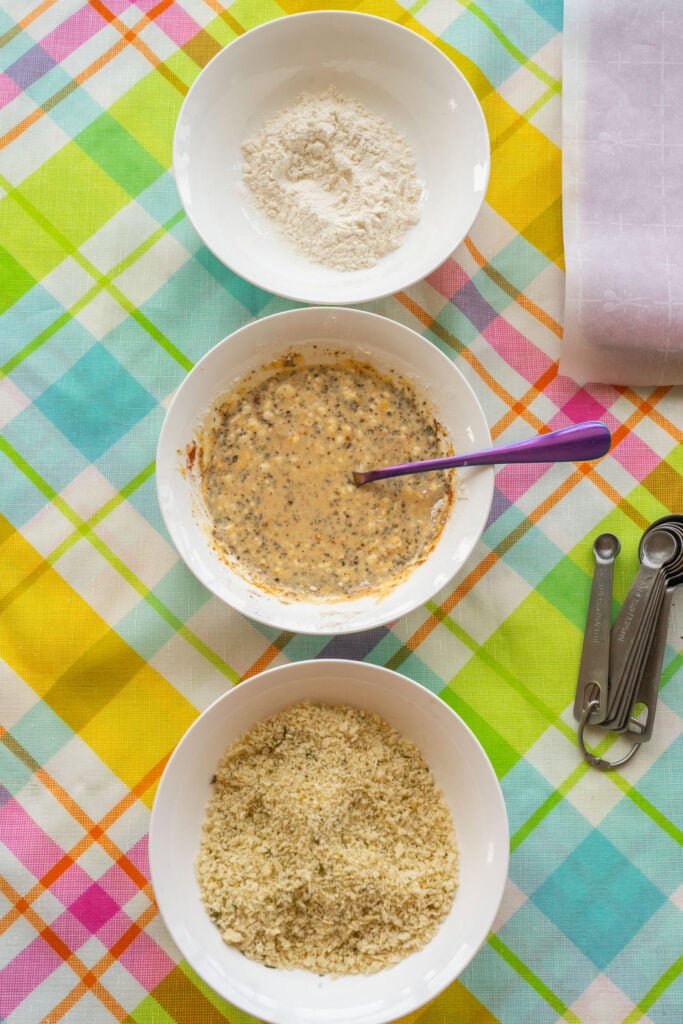
We have harvested so many onions lately; we have more than we know what to do with! Even after making some Slow Cooker Caramelized Onions, Pickled Red Onions, French Onion Soup , and Fried Onions, there are still plenty left! Matthew has been throwing so many onion ring hints, so I decided to give in and make some. And boy, I am so glad I did! They are super crispy and flavorful, we couldn’t get enough of them! Good thing they are oil-free, so we can really indulge! You will need three shallow bowls to get your breading station up and running! The first bowl will be filled with half of the flour required for this recipe. The second bowl is a mixture of the remaining flour, eggs, milk and homemade creole spice mix. The last bowl will be used for the bread crumbs. Serve with oven baked cheeseburgers or hot dogs for a real Summer time meal!
Ingredients You’ll Need
Do you know how much money I had to shell out to make these crunchy Onion rings? Zero! That is right, everything that I needed to make this quick and easy snack are in in my garden or pantry. That is the beauty of home gardening! Here are the list of ingredients and list of possible alternatives.
Onions – this recipe calls for 2 large onions sliced into 1/4 to 1/2 inch rings. It is best to use sweet onions for this recipe. However, white and yellow onions will work too, though they will have sharper flavors. Flour– is used as the base of the crispy breading. You can use a gluten-free brand 1:1. Milk- you can use regular milk or non-dairy milk for this recipe. Egg– will bind the ingredients to make a thick and rich batter. Breadcrumbs-added as the final layer of the breading to give the onion rings its signature crunchiness. Creole spice mix– gives the rings a robust savory flavor with sweet, fiery and smoky undertones! Feel free to omit the spices that you do not like or modify the amount to your liking! To make it you’ll need cayenne pepper, paprika, sea salt, garlic powder, onion powder, dried basil, oregano, black pepper and thyme.
How to Make Baked Onion Rings
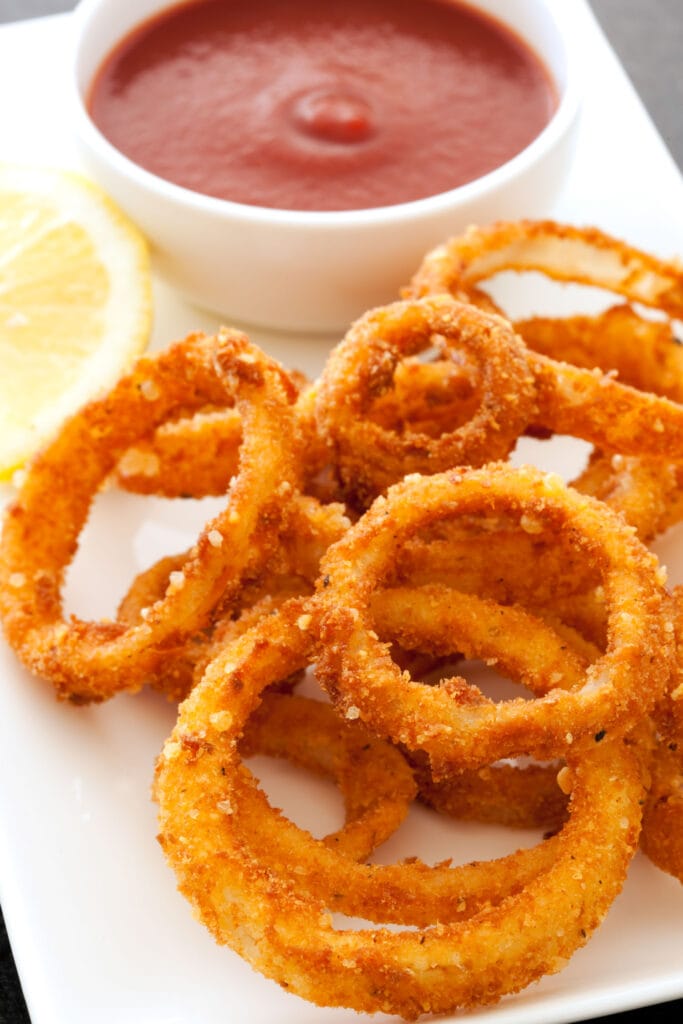
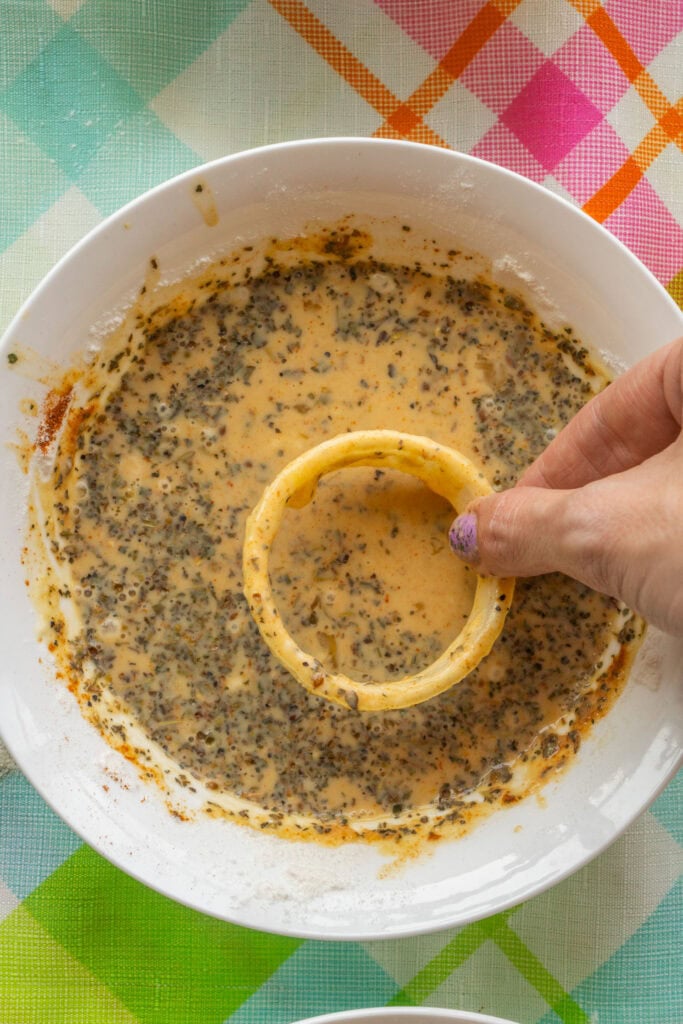
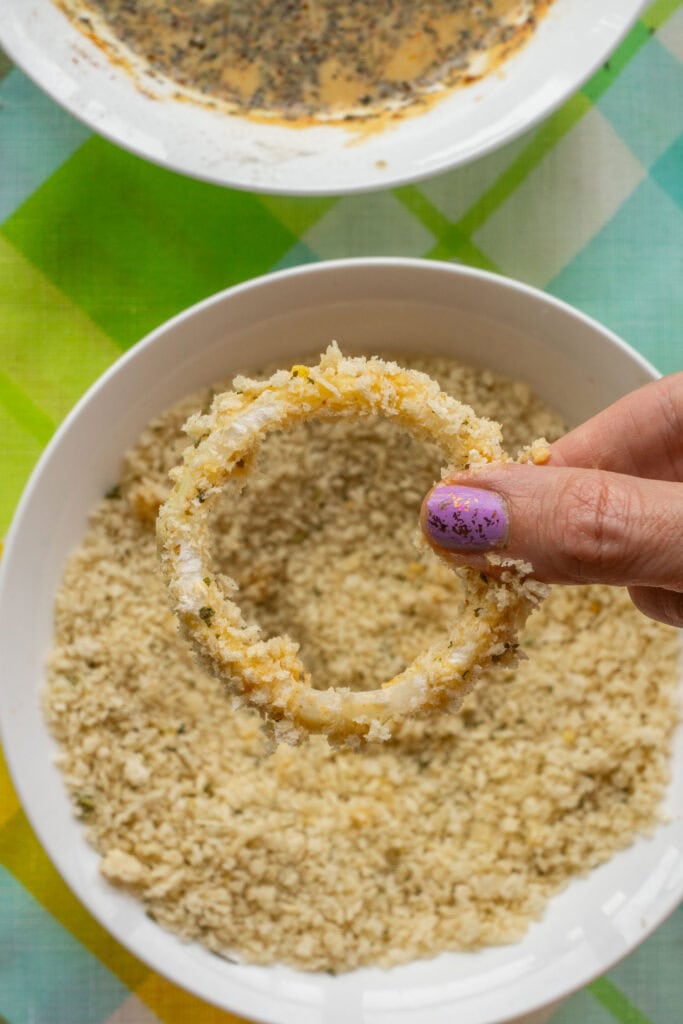
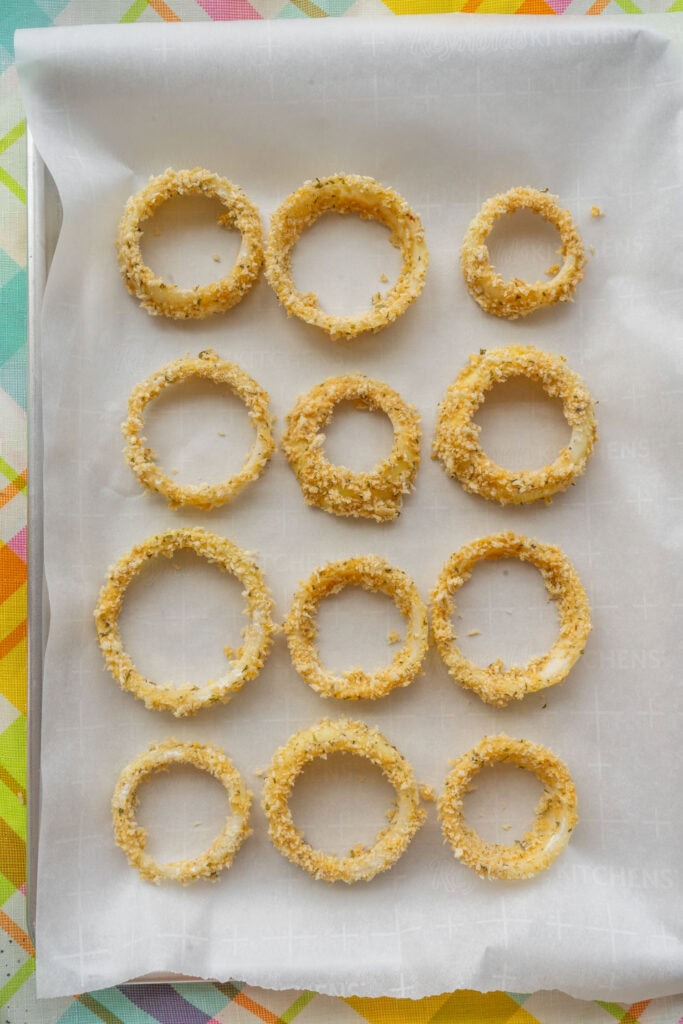
Chop, dip and bake! Preparations: ● Preheat the oven to 425 degrees F. ● Cover (2) baking sheets with parchment paper. ● Slice your onions into 1/4 to 1/2 even slices. Set up the breading stations. Place half of the flour in a small, shallow bowl and set aside. In another bowl, mix the remaining flour, milk, egg and spices. . Whisk until the flour has fully dissolved and you have a slightly thick batter. Lastly, place the bread crumbs into a third bowl. Line them up on the counter. Grab one ring and dip it into the 1st bowl (plain flour). Then, dip it into the second bowl containing the seasoned batter. Let the excess batter drip off completely before moving on (this is really important!!) Finally coat the ring completely with breadcrumbs. Place on baking sheet and continue until all the onions are covered. Bake for 17 to 20 minutes or until they are golden brown and crispy. Make sure to flip them on the other side on the 10 minute mark for them to bake evenly.
Tips when Making Baked Onion Rings
● The rings will obviously be of different sizes, the inner ring layers will be smaller and will bake faster. I recommend using two quarter baking sheets and separate the small rings to the big ones. This way, you can get them out of the oven sooner. ● Make sure to let excess batter drip off before coating them with breadcrumbs. If you don’t, your bread crumb mixture is going to become clumpy and a mess very quickly. ● The baking time will depend on how thick or thin your onion rings are. So make sure to keep an eye on them and flip midway to get them evenly crunchy and golden on both sides. ● Keep the breading light! Dunking the onion ring once on each bowl should be enough. Too much breading will result in a lumpy and soggy coating.
How to Store Baked Onion Rings
Any leftovers can be kept in the fridge for up to three days in an airtight container or bag. However, expect that the breading will turn limp and soggy the longer they are stored. To crisp them up again, you can re-bake them for 3 to 5 minutes. You can place aluminum foil on top to keep them from browning too much. Pin for later: